We left off this series’ last entry with the undercarriage completed and ready to accept the top slabs. Now I’ll bring the tops to the same stage, which involves a bit of tuning and the creation of four large mortises.
A key design feature of the Roubo-style bench is that the front edges of the top slab and the legs are flush and coplanar. This makes for a large and versatile clamping surface. In order to facilitate good alignment of the top and base, I need to true the front (outer) edges of the slabs and make them square to the top and bottom surfaces.
Here’s one slab ready to work:
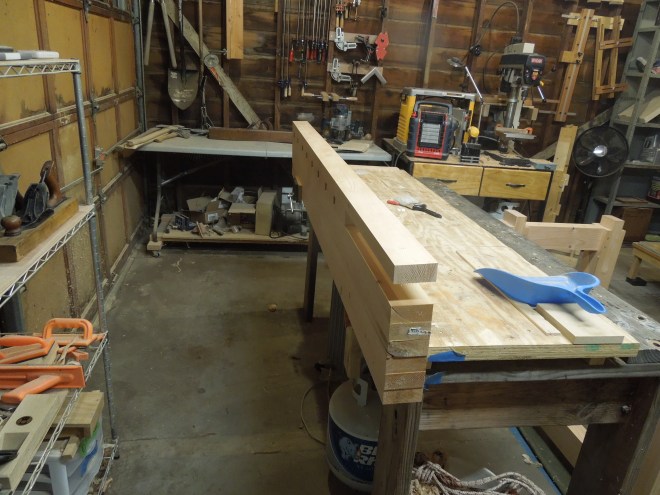
That’s the front edge facing up. I check it for square:
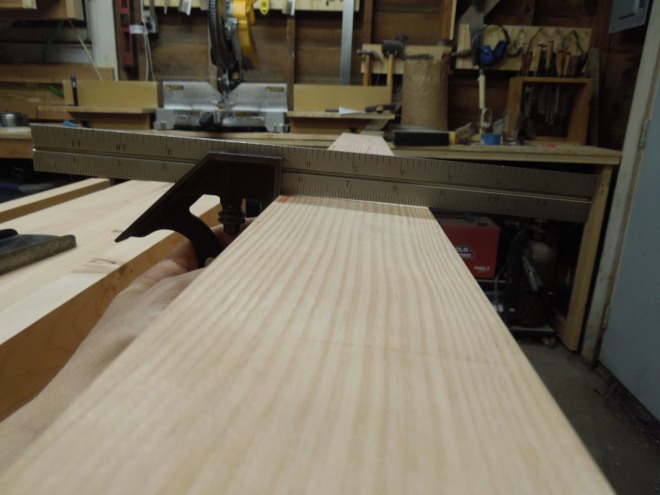
Not so good. But, I didn’t expect them to be square since the alignment during glue-up was a bit random. This isn’t too hard to correct with hand planes – I use my #7 and #8 Stanleys, planing more on the high side (as shown by the square) at first. After a few minutes it’s brought down to square:

I repeat the process for the other slab. Then, the last tuning step is to check the squareness at the end of the slot for the dog block…
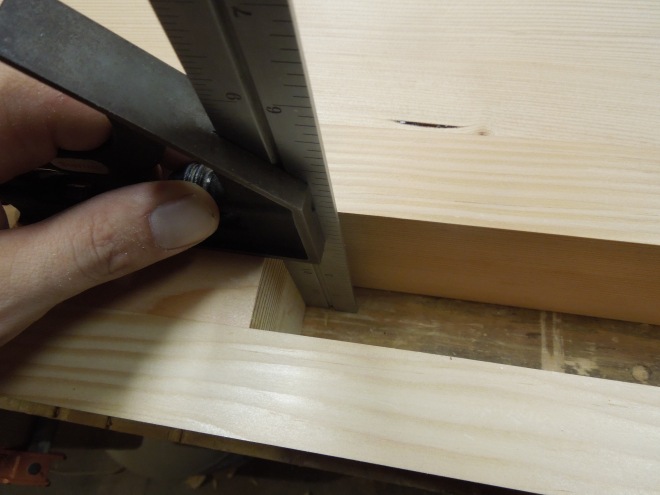
…which looks dead on. This is pure dumb luck, but I’ll take it. I fully expected to have to get out a paring block and true this surface. It needs to be square because it will form one “jaw” of the end-vise.
With those tasks complete, I move the tops down onto the floor, flip the base upside down and set it on the slabs:
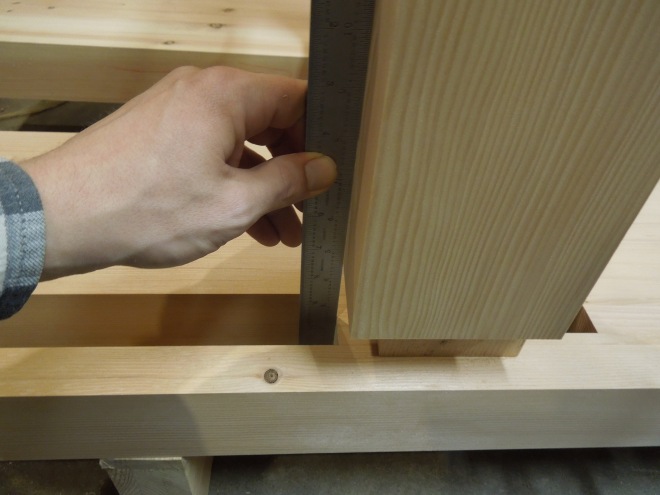
I’m going to mark the positions of the leg tenons onto the underside of the top slabs. First I need to carefully align the base and top. In the photo above I’m obviously only concentrating on the front slab.
Aligning the front slab consists of setting the front surfaces of each leg flush with the front edge of the slab, and the right edge of the front right leg (which is on the front left in the photo above) flush with the end of the dog strip. Checking with the blade from my combination square:
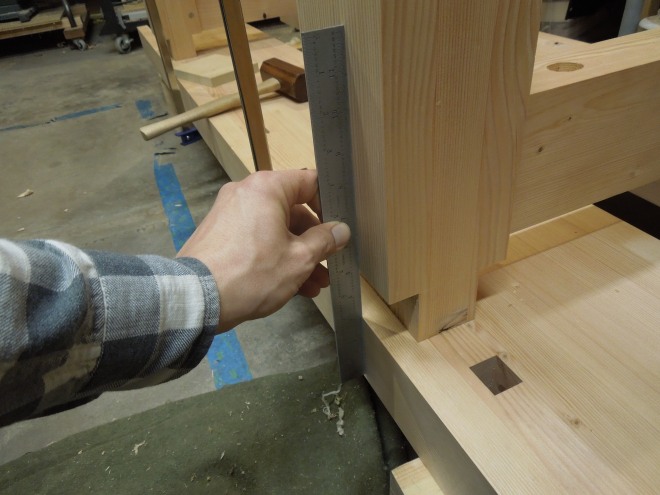
I think you can see in that last photo why I made the third tenon shoulder on the front right leg.
Once I’m happy with the alignment I take a utility knife and mark around the tenon:
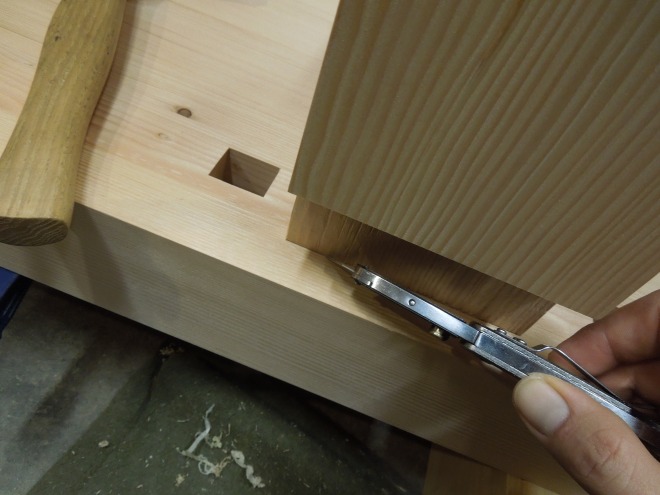
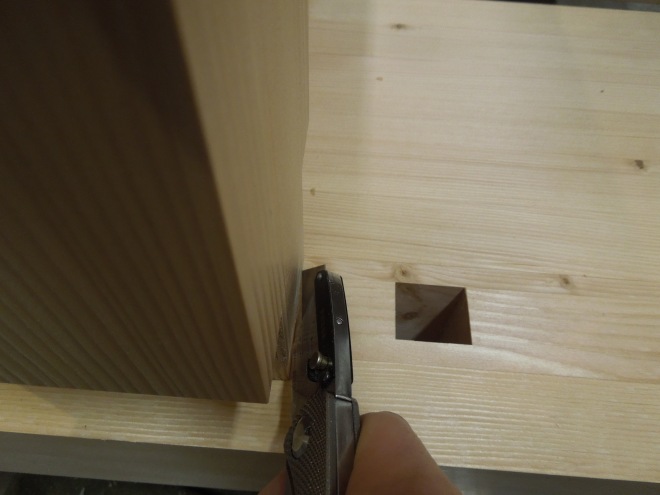
This was a bit awkward, especially on the front and back of the tenon. When using a knife along the grain, the knife wants to follow the grain direction, which is not exactly where I want it to go. The awkward positioning makes it difficult to maintain control, so some of the markings are a bit wonky. Mainly I just made sure that the ends of each mark were accurate, as I will use those to position the paring block that will determine the final dimensions of each mortise.
The results:

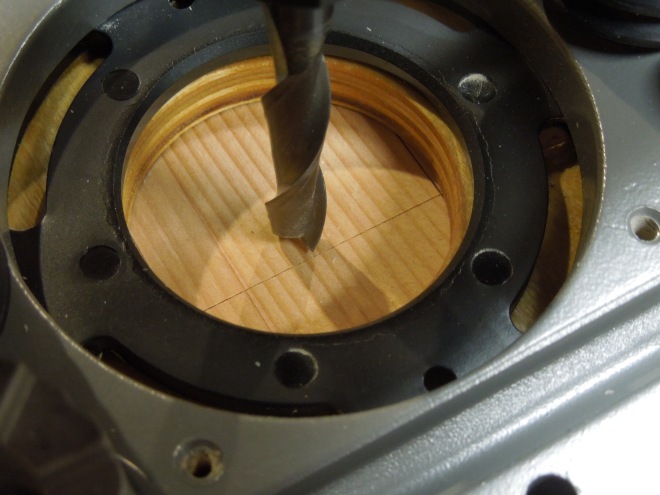
Now to make some mortises! I will use the same technique as I did on the undercarriage mortises from the second entry in this series. I install a long 3/8″ end mill in the plunge router and set up a guide jig.
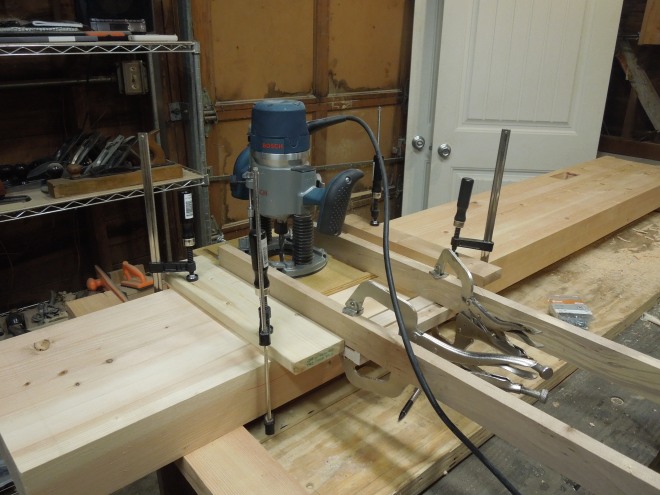
I think my homemade mortising jog works nicely, but it doesn’t accommodate pieces this large, so it ends up getting modified by screwing extensions (maple battens) onto the router base plate, and clamping auxiliary stops in front of and behind the router to serve as fore-and-aft stops. It looks like quite the Rube-Goldberg device, but once I had all of the parts together it could be moved from one mortise to the next pretty quickly.
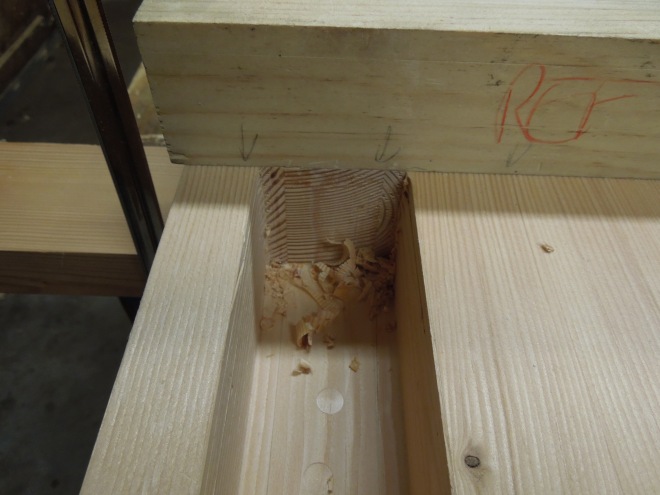
And this is what the setup produces (along with a big mess that is not pictured):
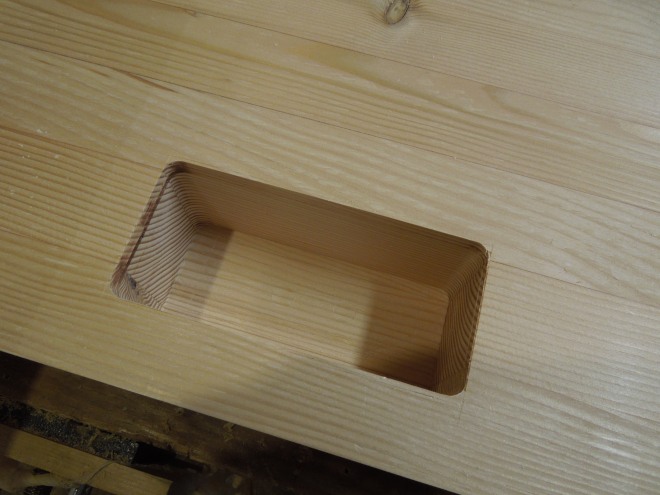
I am staying a bit off the knife marks with the router. I will pare the walls down to the knife marks by hand.
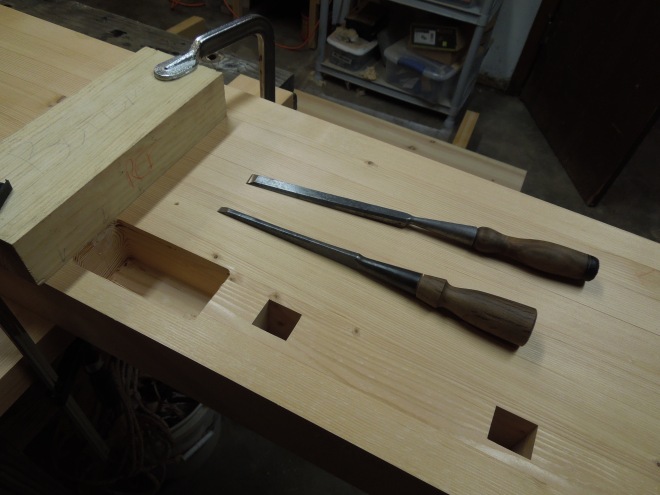
Heres’ the paring block set up for working an end-grain wall. I use a couple of vintage chisels for this- a 1/4″ Ohio Tool and a 1/2″ Witherby.
Making progress:
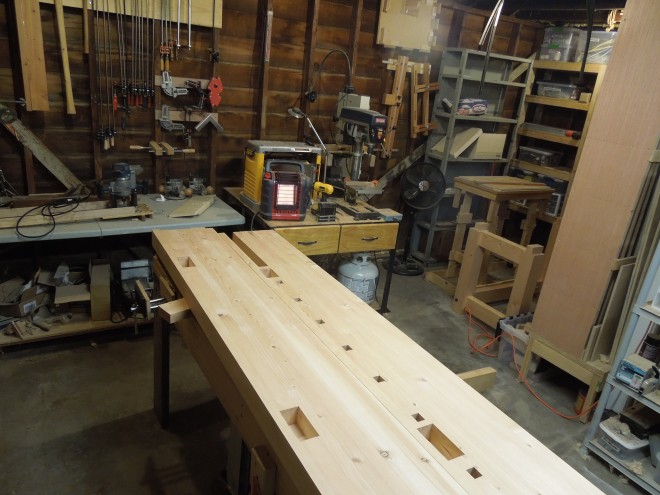
All four mortises done:
I’m just about ready to install the tops now, but there’s one last thing. I want to chamfer the tips of the leg tenons to make it a bit easier to get them started into the top mortises. A block plane does the job:
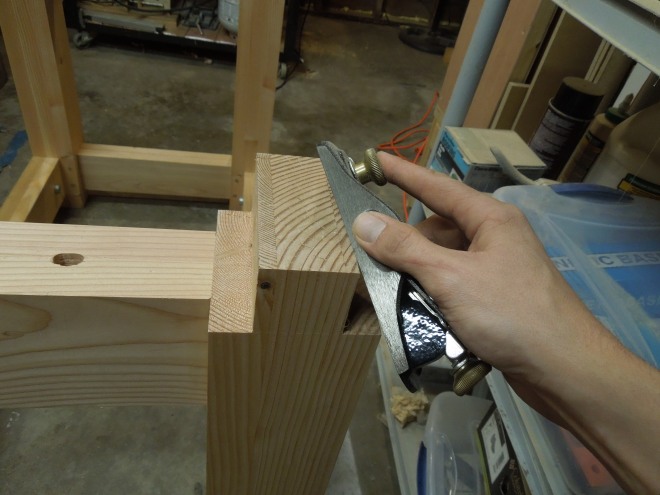
Result:
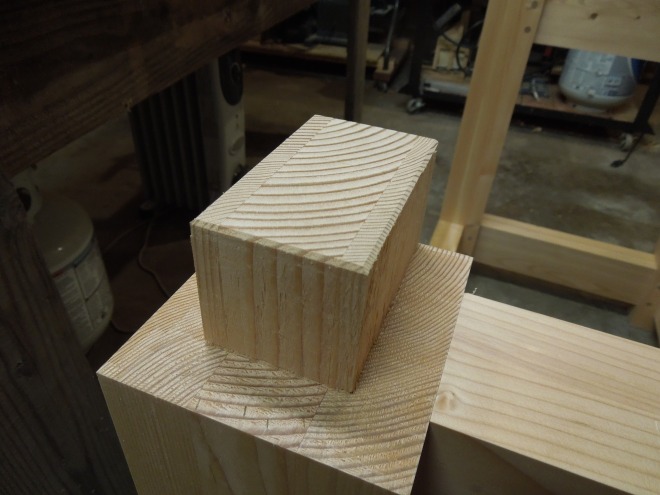
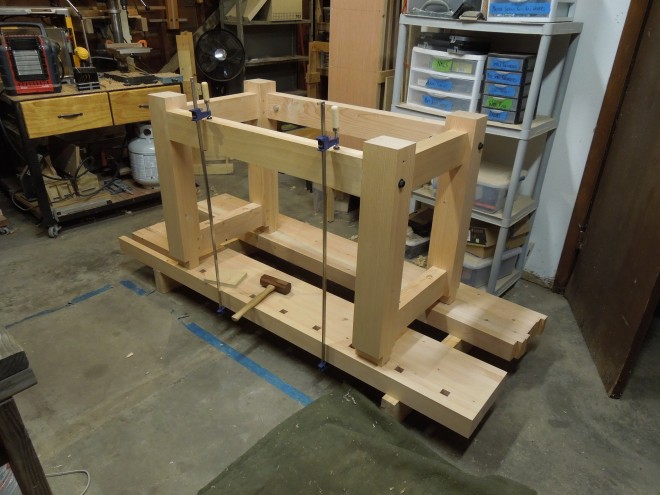
Now to set the slabs on the tenons and see if anything fits! This is a pretty big moment- the first point in this project where it will actually function as a bench.
It took some persuasion with an engineer’s hammer, but they did indeed fit:
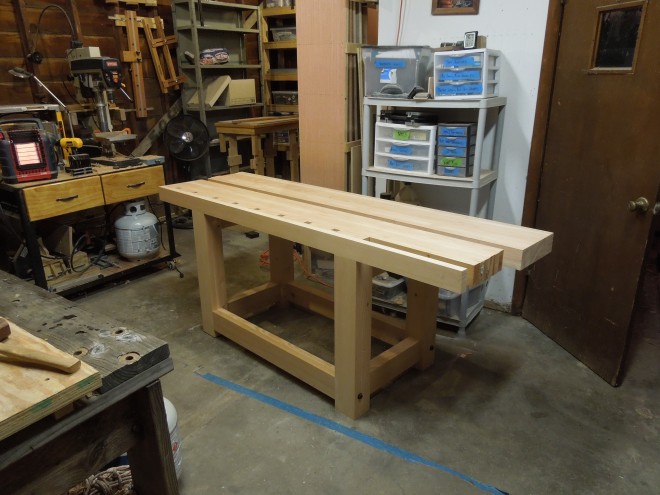
I think the front slab required a little too much persuasion, and it won’t seat quite perfectly on the top stretcher. I will trim the front leg tenons a bit the next time I remove the top, which should solve the problem. I still need to cut a groove for the sliding deadman, anyways. But for now, I’m thrilled to finally have this pile of parts transformed into a bench.
Thanks for reading!

I’m in the early stages, milling my Roubo lumber, and this blog is a nice find! So cool to see those huge parts come together.
I have a question if you don’t mind. Did you leave a shoulder on the top of the upper stretchers’ tenons? Without leaving some wood there, the leg tenon is completely undercut. I was thinking 3/4″ shoulder. Is that about what you did? Thx
LikeLike
Thanks for the comment Joe. You’re right, you want to have an upper tenon shoulder so you can leave some meat above the leg mortise. I forget what size mine was, perhaps one inch. I think I remember making the upper tenon shoulder larger than the lower shoulder- essentially offsetting the tenon down a bit. You could also haunch the tenon.
LikeLike
Yeah, I just learned about haunched tenons as a result of thinking about this issue. Somethin’ new every day… Thanks for the reply.
LikeLike